Advanced Settings
Email Templates & Notifications
How to create and customize email message templates using Liquid variables, bind them to appointment templates, and set up automated notifications and reminders.
Mazecare integrates automated email delivery directly with clinical and scheduling events. This guide details how to create and configure email message templates, map them to appointment templates, and set up automated trigger-based notifications (including scheduled reminders).
Detailed Step-by-Step Walkthrough
Step 1: Create Email Message Templates
Create and design reusable layouts for your client-facing emails:
- Log in to Mazecare as an Administrator or Staff member with template access.
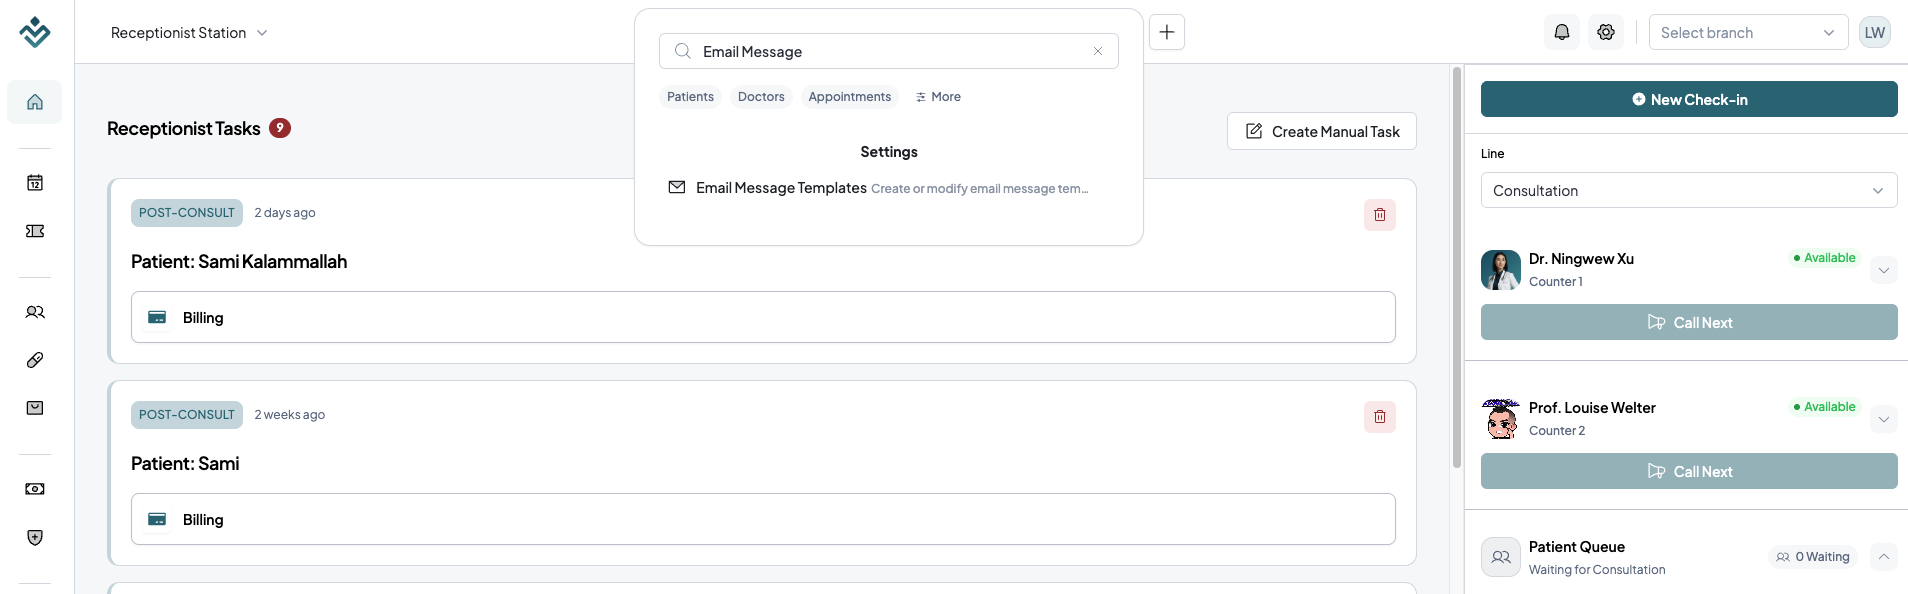
- Click the Global Search input box in the top-center navigation bar, or press the Cmd + K (Mac) or Ctrl + K (Windows/Linux) keyboard keys to focus the search field instantly.
- Type
templateoremailin the search bar and select Email Message Templates under the Settings category to navigate to/settings/templates/email-message.
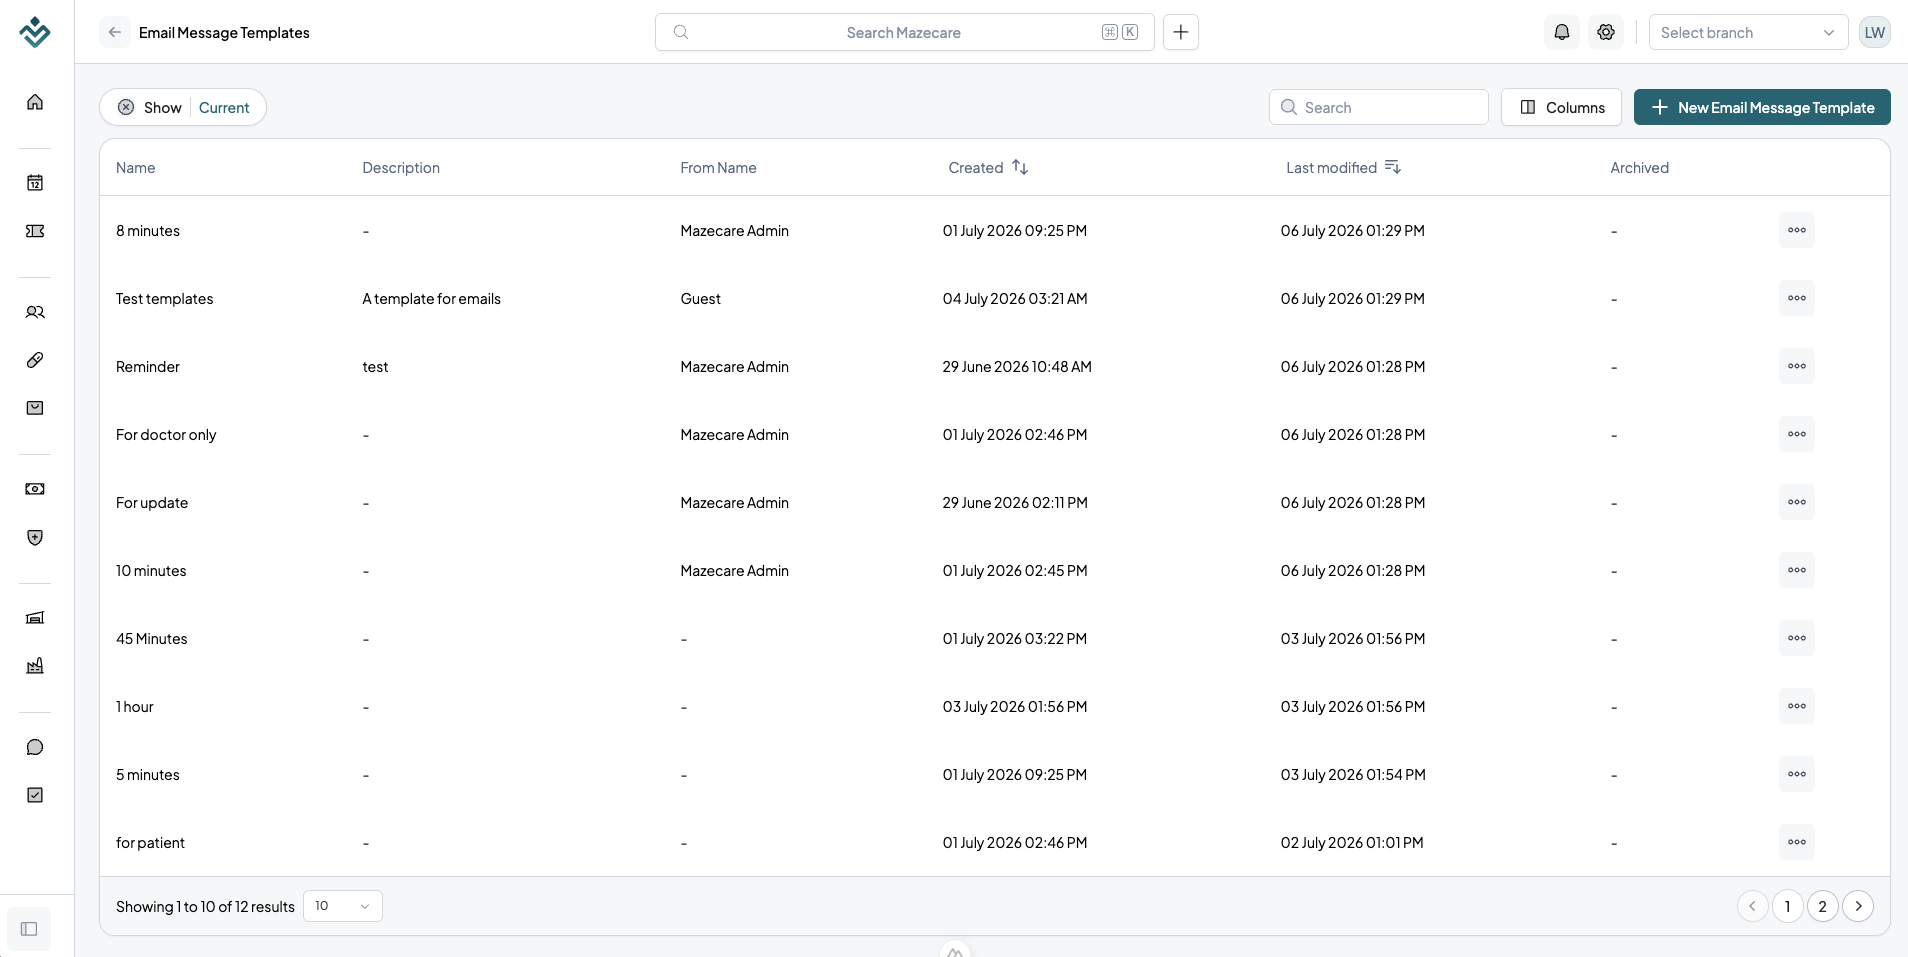
- On the templates page, click the + New Email Message Template button.
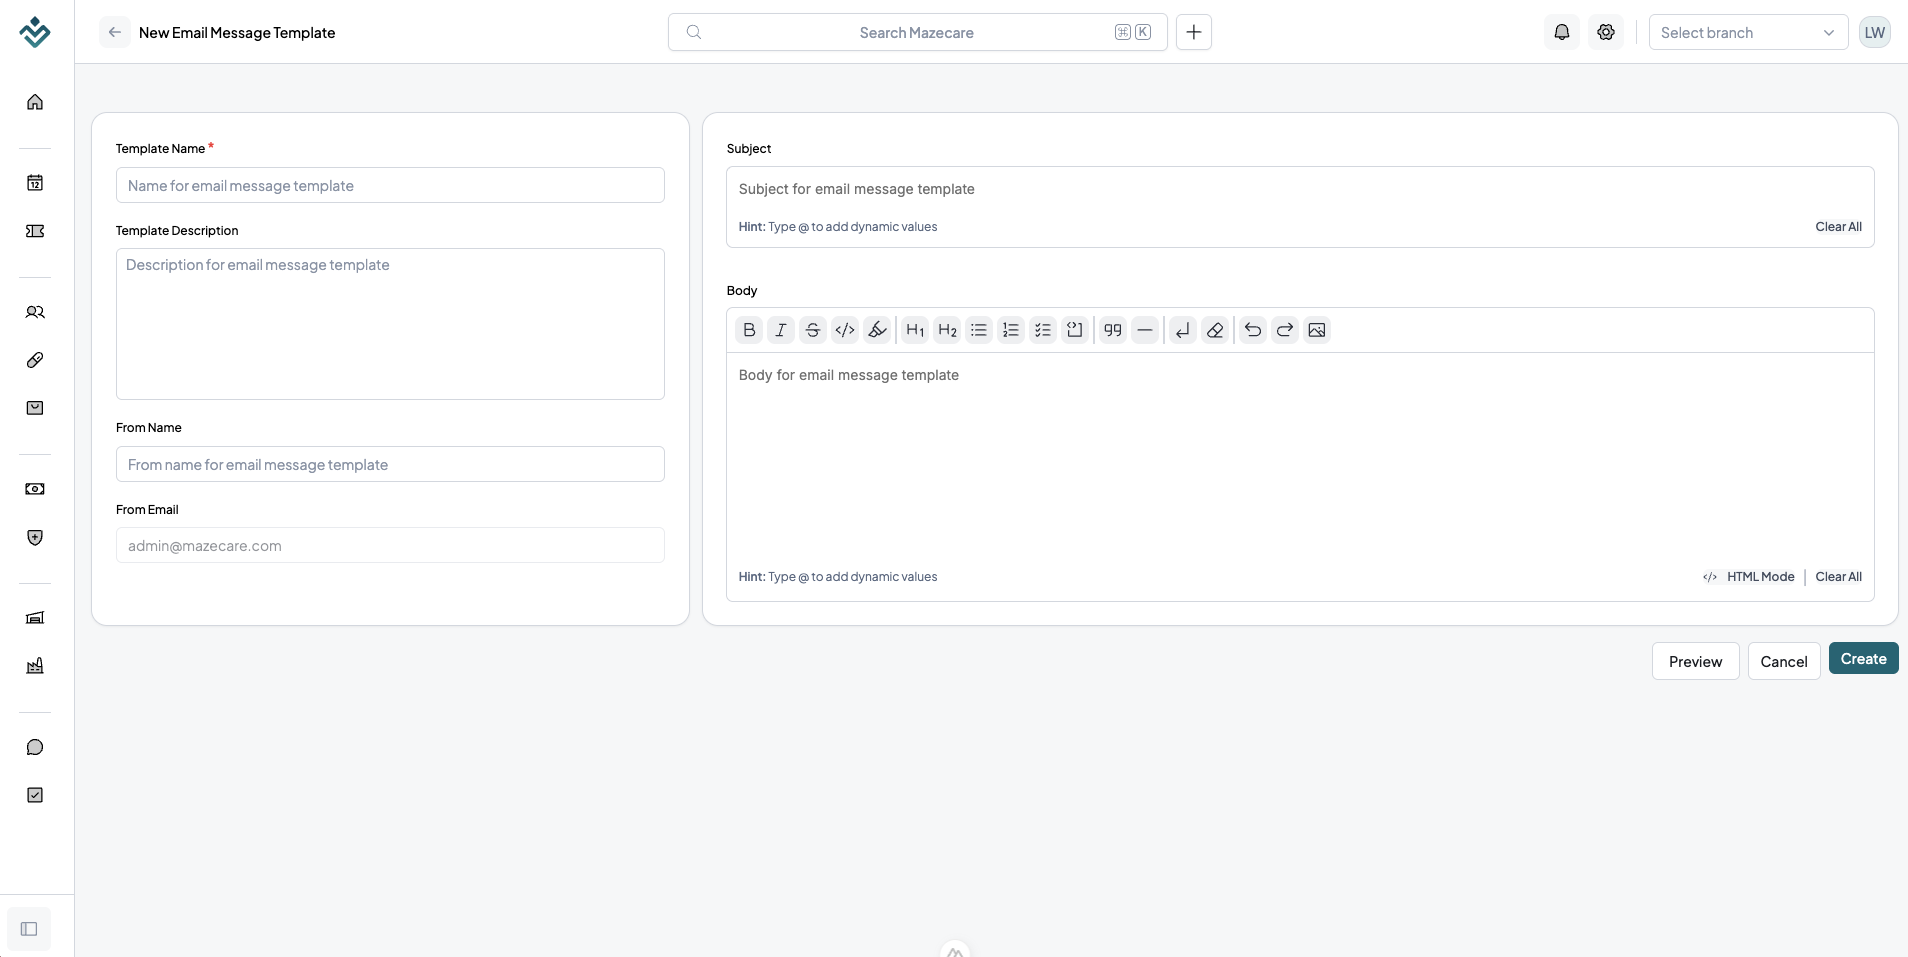
- In the template editor form:
- Enter a descriptive Name for the template.
- Enter the Subject line. The Subject editor is single-line and compact.
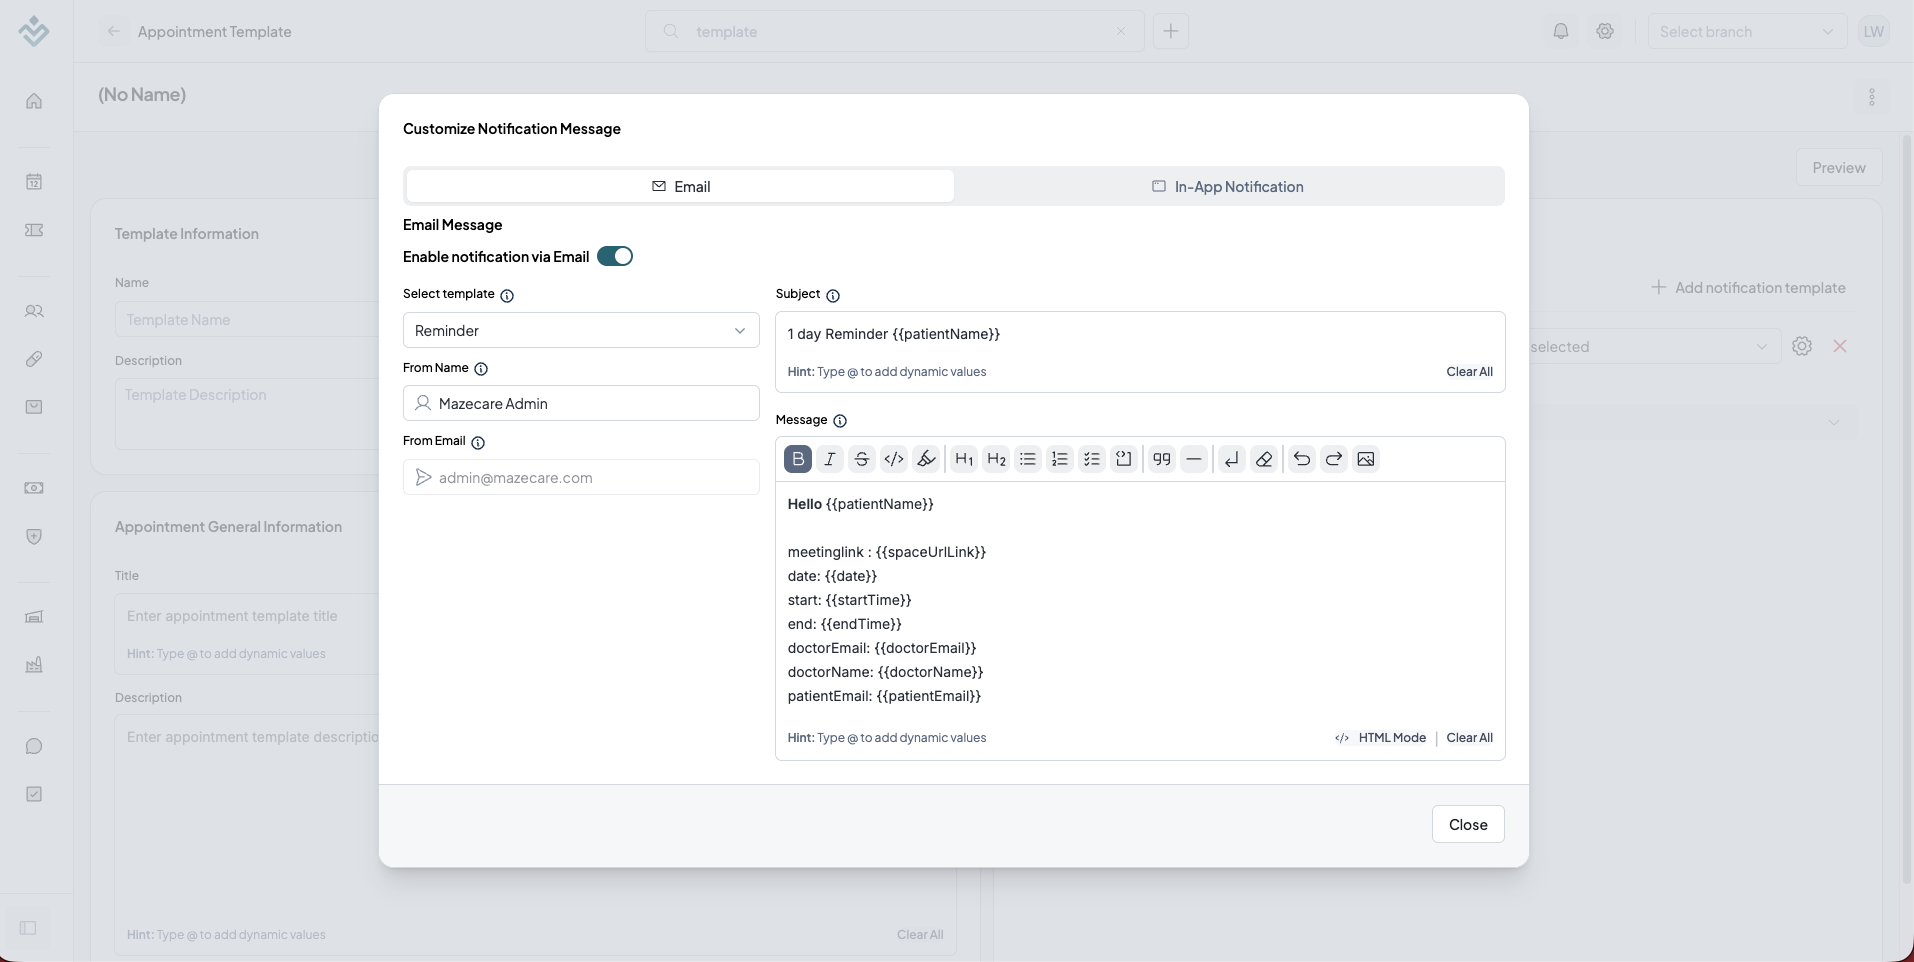
- Write the Body of the email using the rich WYSIWYG editor. You can switch to HTML Mode to customize the raw markup directly. (Note: Don't save and switch between modes because it will break the HTML structure if you are using HTML Mode and then save the template on visual mode)
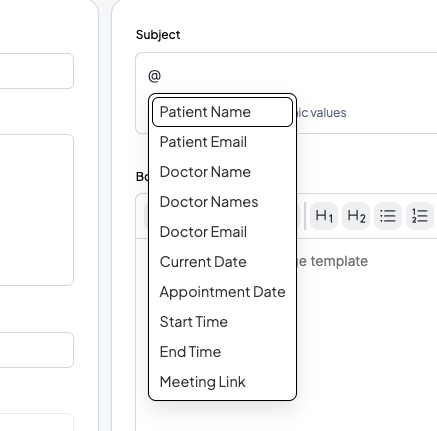
- You can use dynamic Liquid tag placeholders (e.g.,
{{patientName}}or{{date}}) which will render dynamically based on the appointment context, on both subject and body. - Insert dynamic suggestions by clicking placeholders in the editor sidebar (e.g., patient details, provider details, date/time info).
- Click Verify & Save Template.
Step 2: Configure Appointment Templates
Set up appointment templates to define service durations and associate notification rules:
- Log in to Mazecare as an Administrator or Staff member with template access.
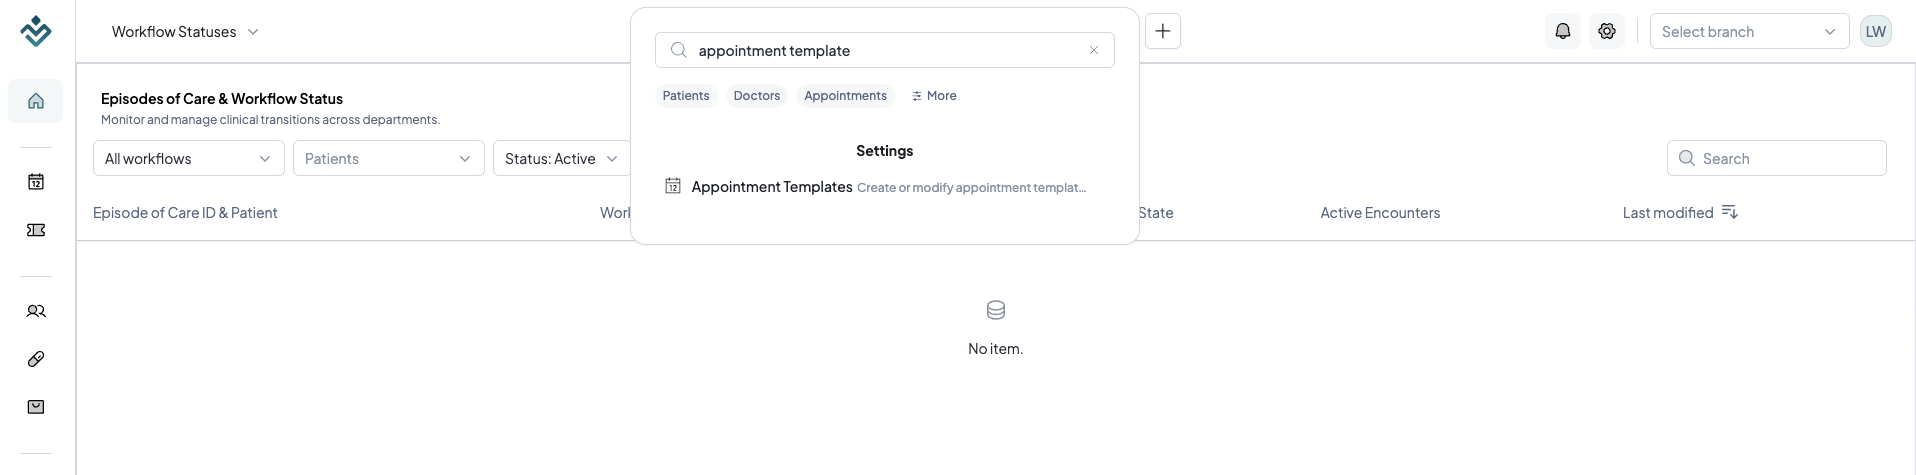
- Click the Global Search input box in the top-center navigation bar, or press the Cmd + K (Mac) or Ctrl + K (Windows/Linux) keyboard keys to focus the search field instantly.
- Type
appointmentortemplatesin the search bar and select Appointment Templates under the Settings category to navigate to/settings/templates/appointment-templates.
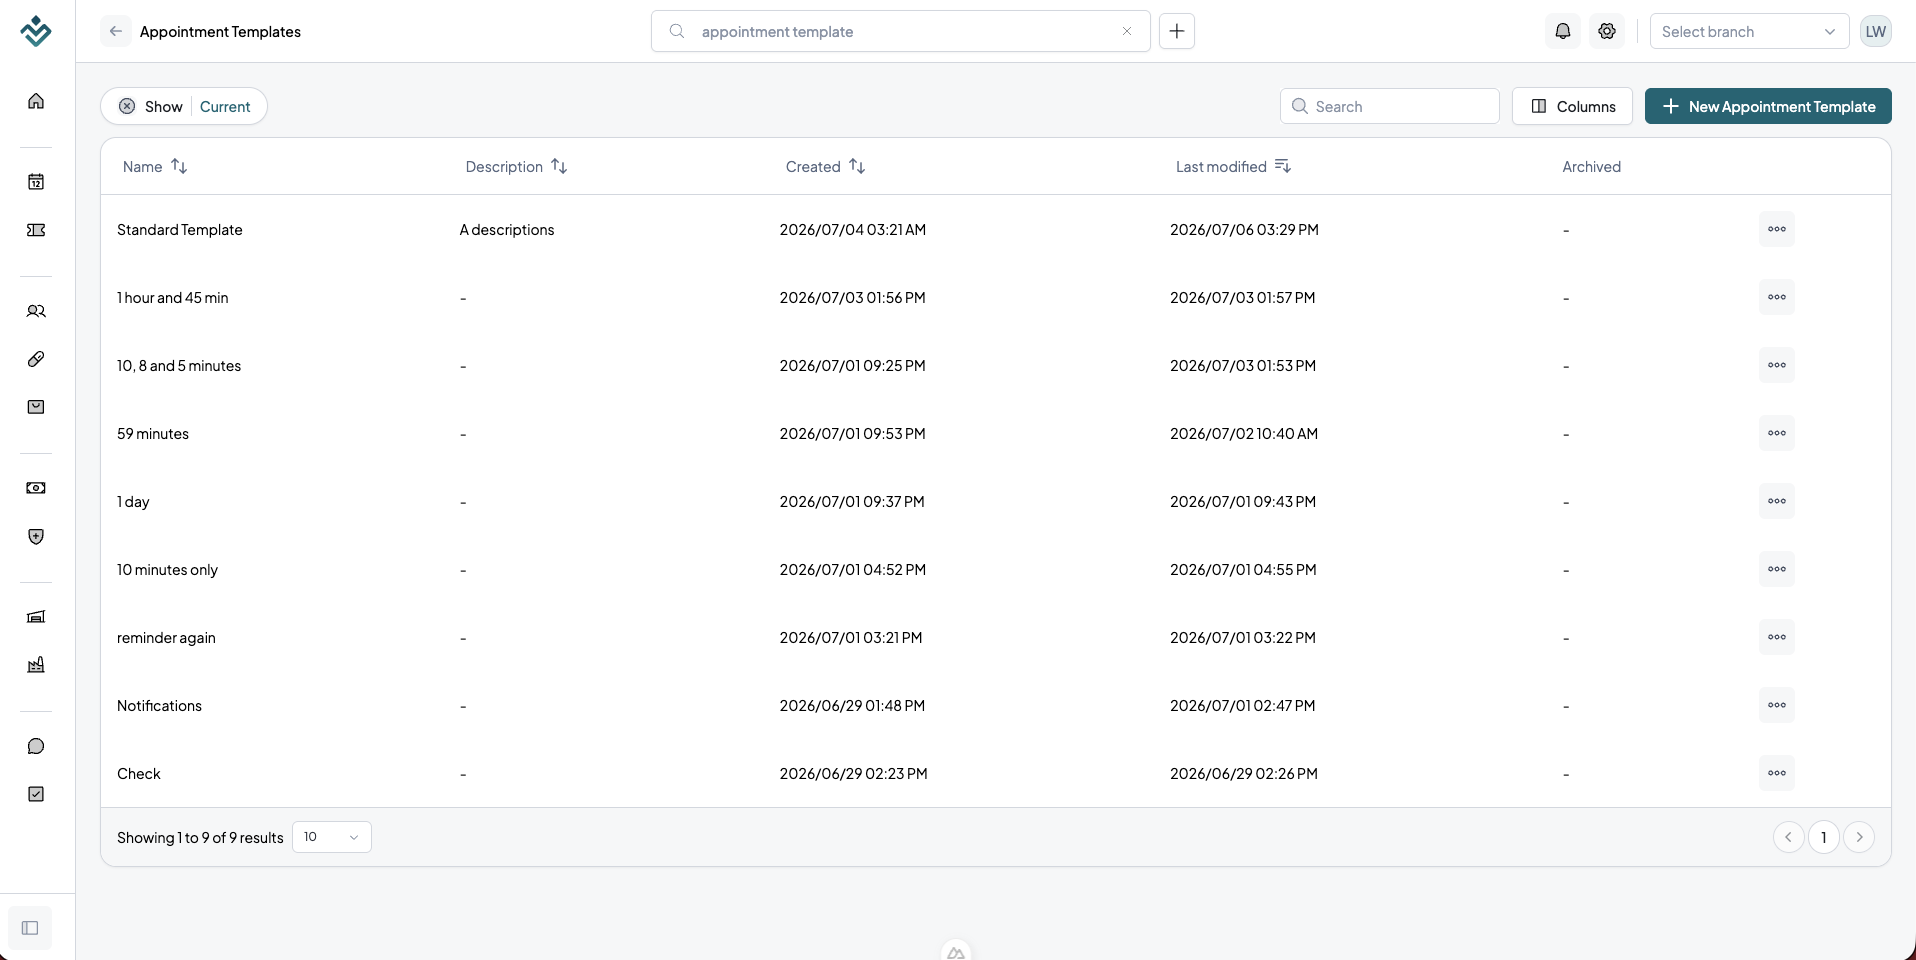
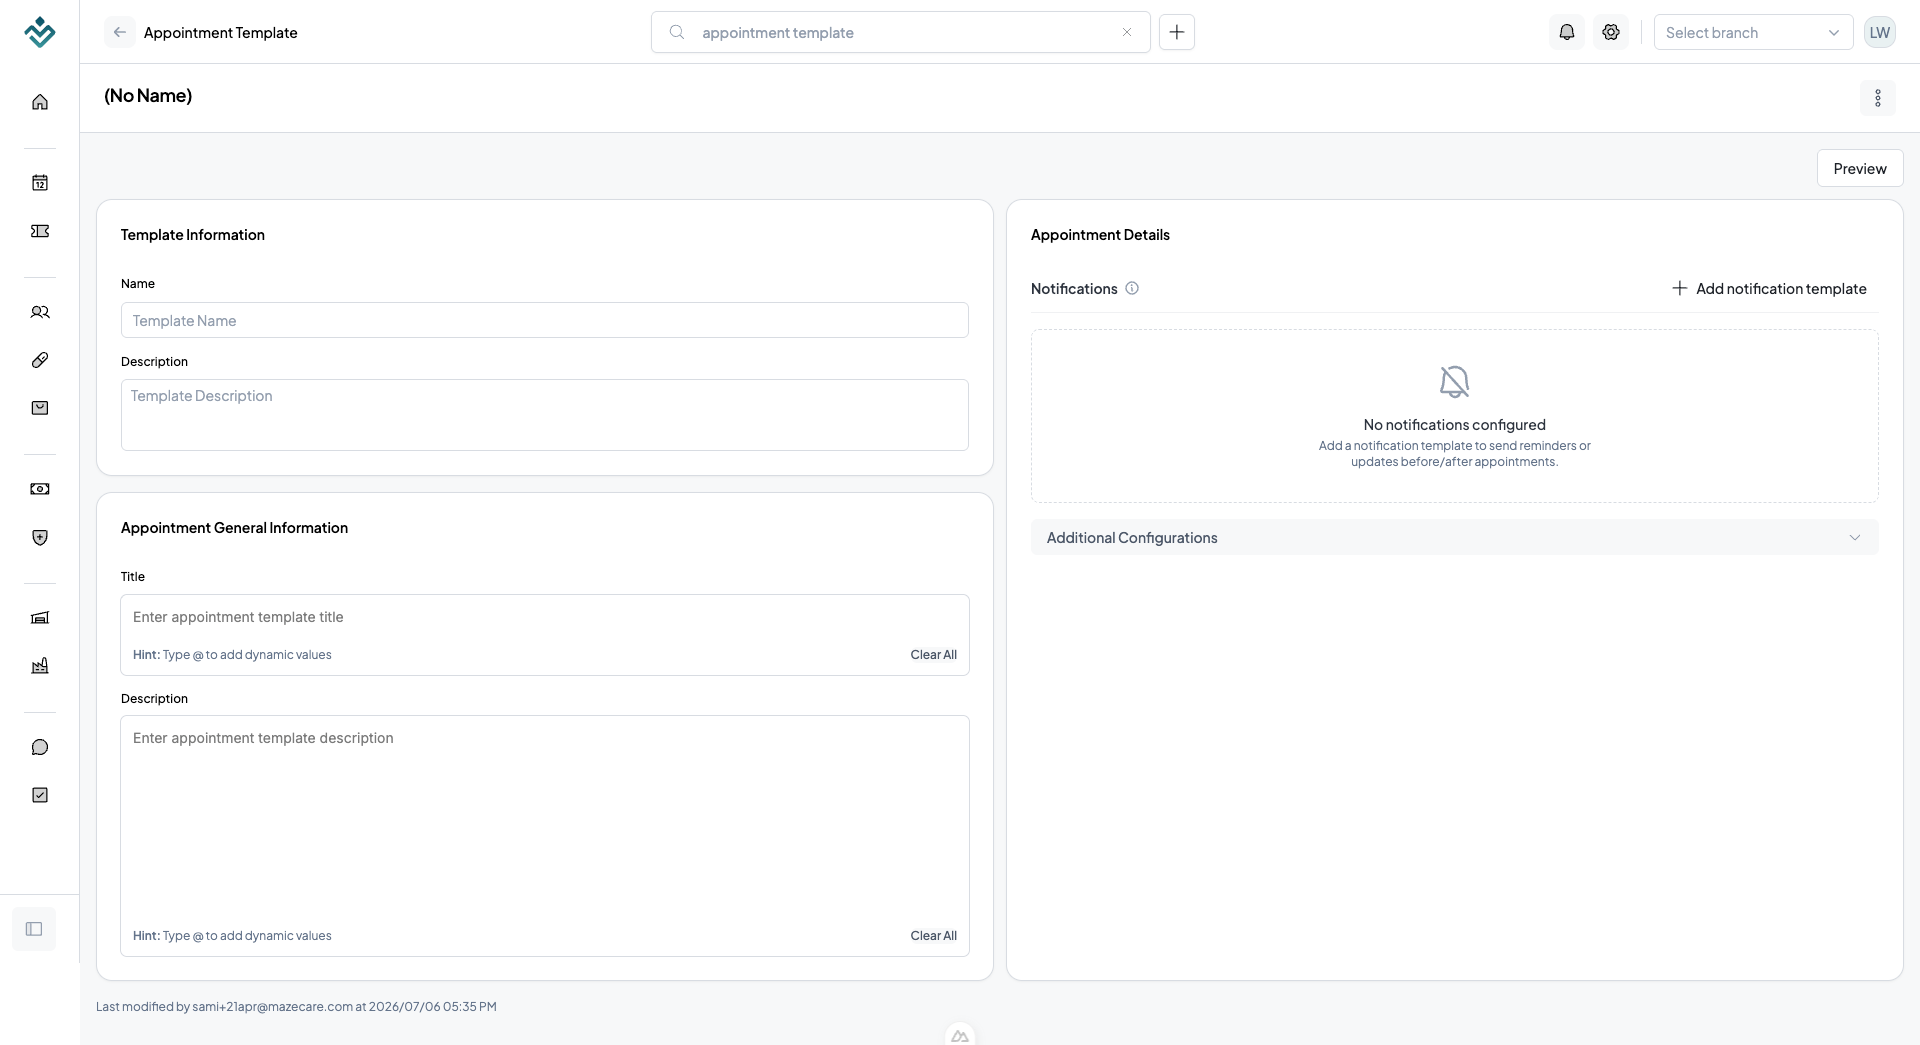
- On the appointment templates page, select an existing template or click the + New Appointment Template button.
- In the template details view:
- Fill the fields you need that will be a default value of an appointments.
- You can expand additional configurations which is optional.
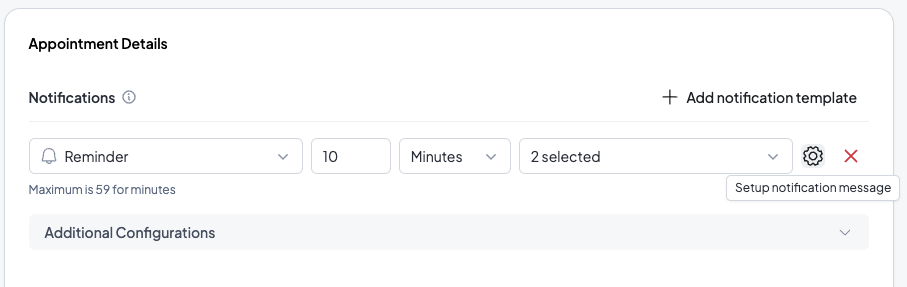
- To add a notifications, click the + Add notification template to open a notification template forms.
Step 3: Add Notification Triggers
Configure automated rules to send messages when appointments are booked or updated:
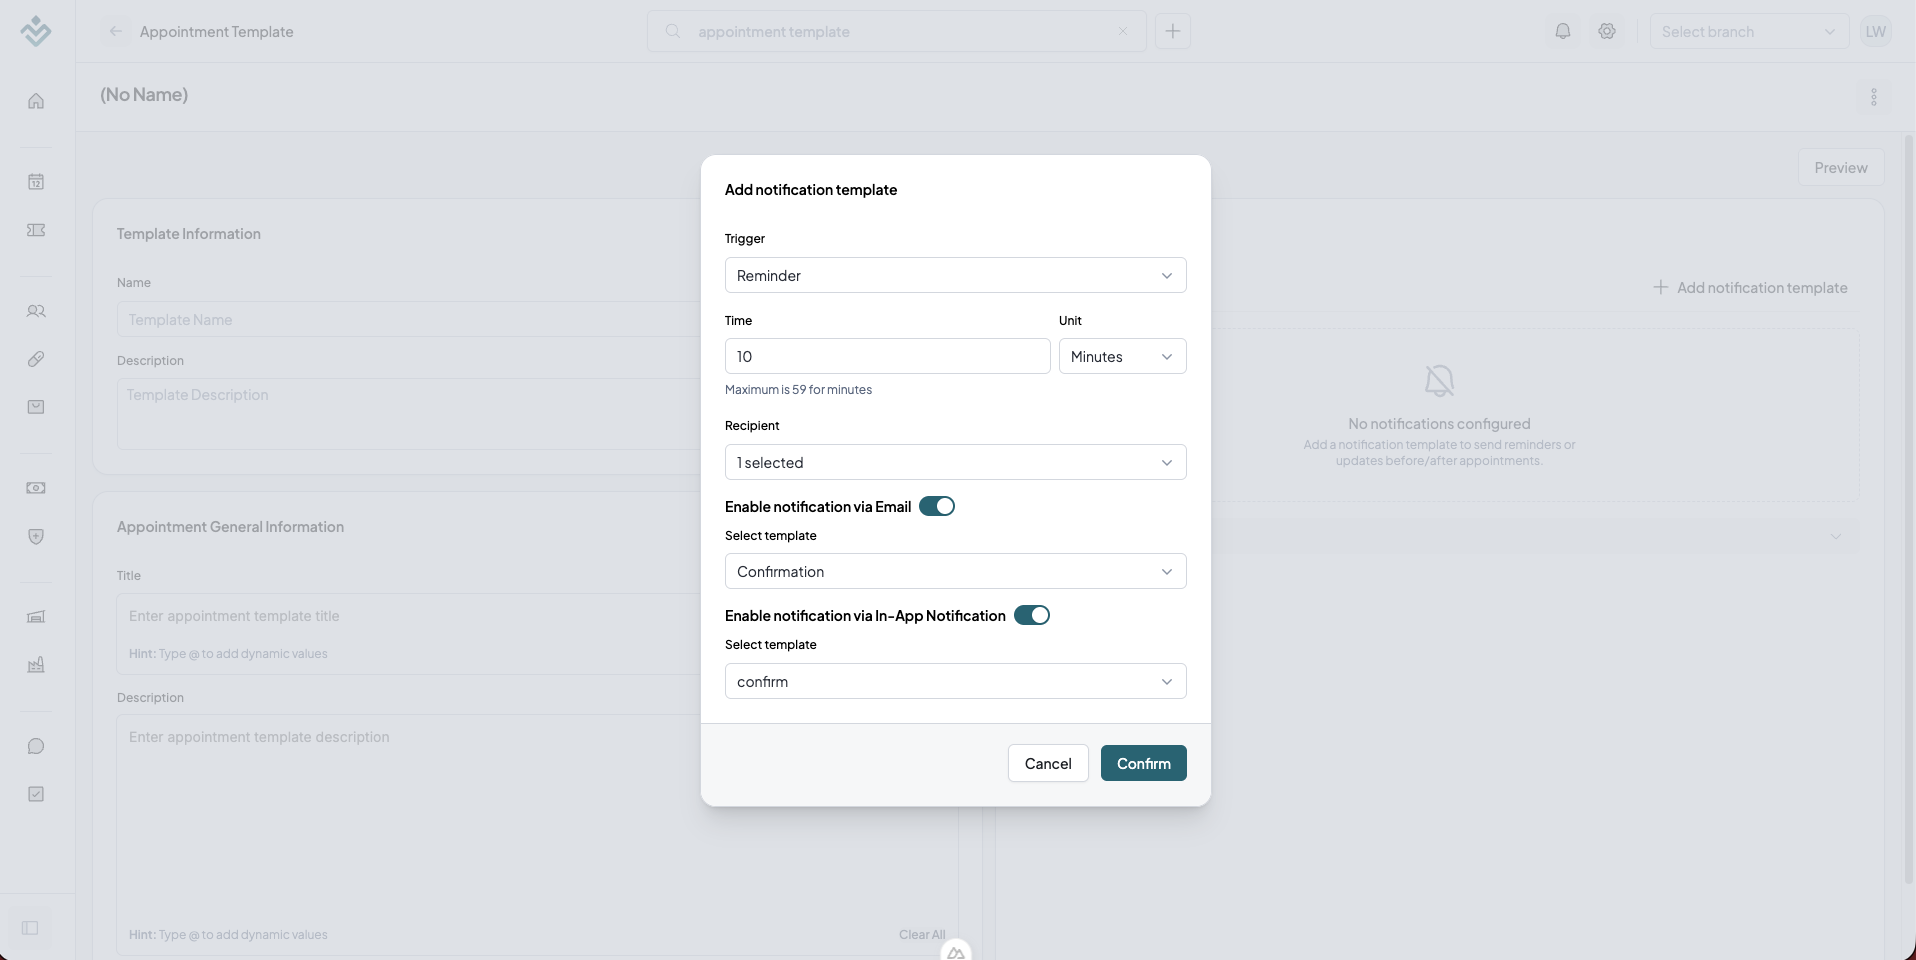
- Under the Notifications panel of the appointment template details, click + Add notification template.
- Configure the notification card:
- Trigger Type:
ON_CREATE: Sends the email immediately when the appointment is created/booked.BEFORE_START_DATE_TIME: Schedules a reminder to be sent prior to the appointment. Set the time span offset. (Note: Currently we have two options, minutes and hours. Minutes will have a maximum of 59 minutes and hours will have a maximum of 23 hours.)ON_UPDATE: Sends the email immediately when the appointment is updated, including when the attendee is updated.
- Select the recipients, can be both Doctor and Patients or one of them.
- Message Channel: Select
EMAIL(orINAPPfor portal messages). - Template: Search for and select the Email Message Template you created in Step 1.
- Trigger Type:
- Click Confirm. The notification rule is now active and will apply to any new appointments booked under this template.
- After adding the notifications, you can click the Cog icon to open the notification settings, you can change the template, or update the Message Template content.